How to Run ParrotOS on WSL2
In this tutorial, I will show you how to get ParrotOS running directly on WSL2, running Windows 10 (ver. 2004 / Build 19041 or higher) OR Windows 11 x64.
ParrotOS is very useful if you're getting started in pen testing, as it already has all the useful tools installed that you need to get going.
As with any pen testing tools, you must only use it on your own equipment/networks or gain prior permission if it is not your own. This tutorial is for educational purposes only.
Setting up WSL2
We need a base Subsystem, I chose Kali but you can also use Ubuntu for this, whatever you're comfortable with. Kali will take a little less time to install due to some packages already being present in the OS once it comes to the Parrot Installation stage.
Either can be easily installed via PowerShell with elevated privileges (run as Administrator).

Note: You can view all available distros available by running 'wsl -l -o'
WSL and your chosen Distro should now be installing, depending on your computer and internet connection, this can take between 5 minutes or an hour (if you're running from a potato with a dial up connection).
PS C:\Windows\system32> wsl --install -d kali-linux
Installing: Virtual Machine Platform
Virtual Machine Platform has been installed.
Installing: Windows Subsystem for Linux
Windows Subsystem for Linux has been installed.
Downloading: WSL Kernel
Installing: WSL Kernel
WSL Kernel has been installed.
Downloading: GUI App Support
Installing: GUI App Support
GUI App Support has been installed.
Downloading: Kali Linux Rolling
The requested operation is successful. Changes will not be effective until the system is rebooted.
PS C:\Windows\system32>
When you see the operation is successful message, reboot your computer. Windows will enable the WSL features upon reboot.
Once you have logged in again, change your WSL version to 2. In PowerShell (as admin), run:
wsl --set-default-version 2Note: You can verify your WSL installation is setup properly by running "wsl -l -v". You should see something similar to the below output.
| NAME | STATE | VERSION |
|---|---|---|
| Kali Linux Rolling | Running | 2 |
Now search for you chosen Distro in your start menu and run it. The distro will begin installing itself and then you will be prompted to create a username and password. Once this is complete and you have logged into your Kali/Ubuntu Distro, we're ready to begin installing ParrotOS.
Installing ParrotOS
Firstly we want to make sure all of our existing packages and resolve configs are up-to-date by running:
sudo apt-get update && sudo apt-get upgrade -y
Once complete, install gnupg and git by running:
apt install gnupg git -y
Now ensure you're in your home directory and run "git clone https://github.com/Prodject/ParrotWSL.git".
Once complete, go into the created directory with "cd ParrotWSL".
In order to execute the batch script, we need to give it executable permissions by running "sudo chmod a+x parrot-wsl.sh". Then run the script with "sudo ./parrot-wsl.sh".
You will then be prompted to select an installation version. Personally, I chose 4 (Full Edition). If you want a full desktop experience and all the apps, you'll want the full version. Depending on the edition you choose, it can take up to an hour depending on your connection and computer.
Note: If you did not opt to install the full version, you can do so later on by running "sudo apt install parrot-tools-full".
Congrats! You have ParrotOS running on WSL2. No virtual machine software required! If you want the GUI desktop, keep reading!
XRDP Server Installation
Installing XRDP will allow you to use Remote Desktop via the WSL network adapter.
Install with:
sudo apt-get install xrdp.
Once installed, you can run it from its directory with "/etc/init.d/xrdp start". You can also make yourself a bash file to run this if needed. You'll need to grab your WSL adapter IP Address with "ip addr", you'll want the eth0 adapter (usually 172...*).
Example Bash Script I saved in my home directory (rdp.sh)
#!/bin/bash
/etc/init.d/xrdp start
ip addr
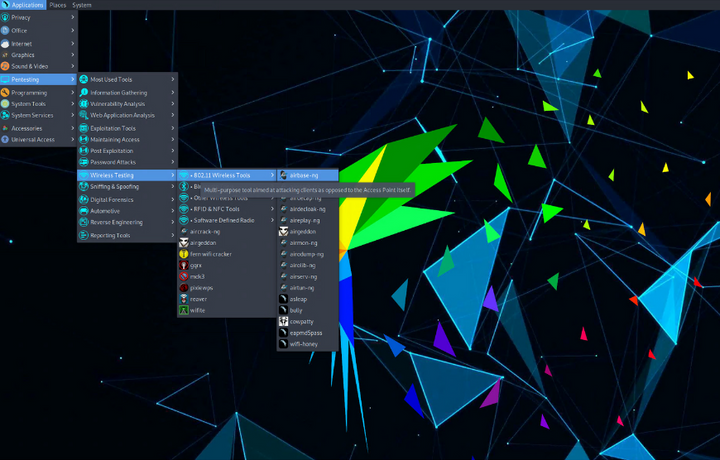
Open Remote Desktop Connection and enter your IP address. Press connect and enter your prompted username and password that you configured earlier for your Distro. Now you're in ParrotOS Desktop!